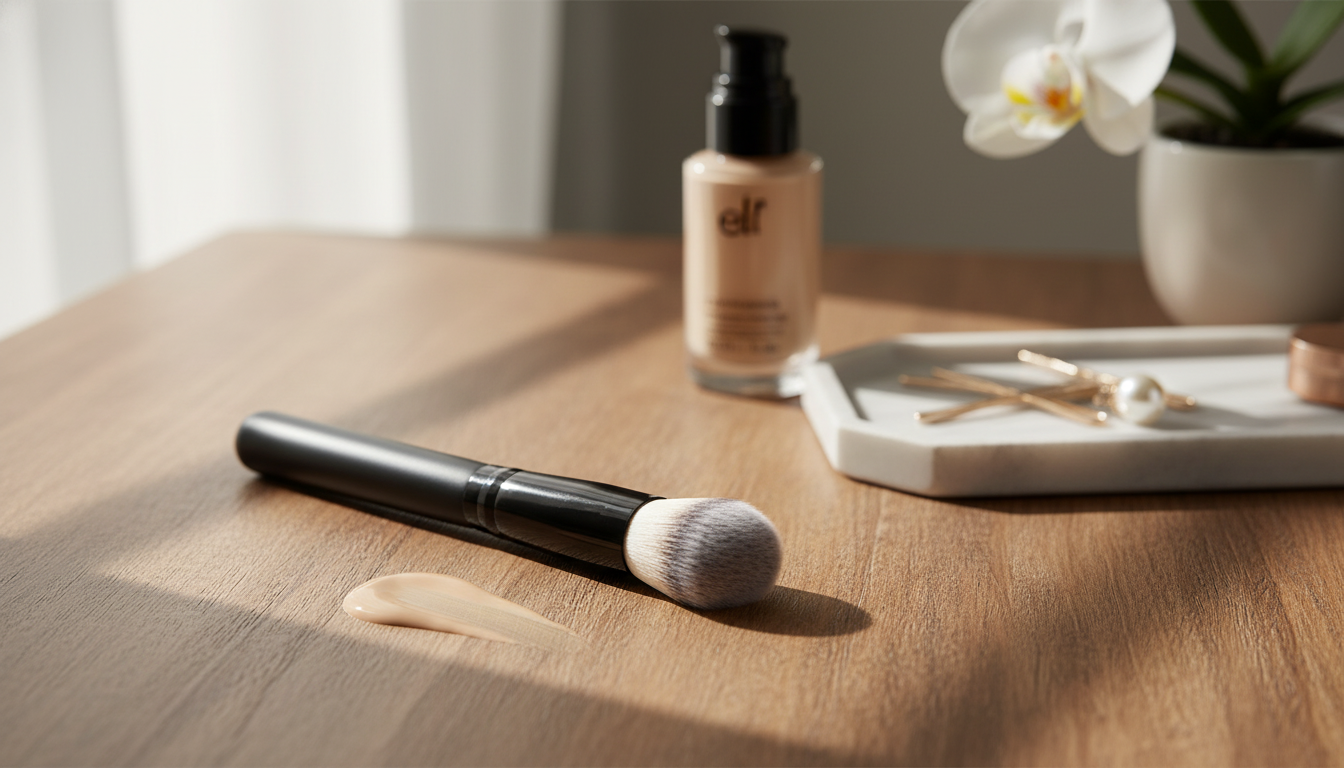
A slim, flexible foundation brush can make base makeup look more seamless—especially around the nose, under-eyes, and along the hairline where thicker tools can leave buildup. This guide breaks down what an ultra-thin foundation brush does best, how to use it for different finishes, and how to keep it performing like new. For more guidance, see How to Cover Acne with Makeup: Our 10 Best Foundation Tips.
An ultra-thin foundation brush stands out for precision and control. The low-profile brush head helps you reach tight areas—like the sides of the nose, inner corners, and around brows—without overloading product or smearing coverage into places where it tends to crease. For further reading, see Molecular brush-based ultrathin polymer electrolytes with stable ….
Because it applies in controlled layers, a thin brush adapts well to different coverage goals. The trick is to apply less than you think you need, then build only where the complexion actually requires it.
This method keeps the base smooth while minimizing product waste and avoiding buildup in creases.
Different formulas set at different speeds, and a thin brush is most successful when you adjust your pace and pressure to match.
Each tool can create a beautiful base, but they excel in different situations—especially when it comes to texture, time, and how much product you want to use.
| Tool | Best for | Finish | Common downside | Quick tip |
|---|---|---|---|---|
| Ultra-thin foundation brush | Precision blending, thin layers, edges | Natural to medium | Streaks if overloaded | Use minimal product and light pressure |
| Makeup sponge | Pressing product into skin, quick blending | Very skin-like | Product absorption | Dampen and squeeze out excess water first |
| Dense flat foundation brush | Faster coverage on larger areas | Medium to full | Can drag over dry patches | Buff gently after placement to soften lines |
Thin brushes perform best when the bristles stay flexible and clean. Product buildup can make application streaky, uneven, and potentially irritating to skin—especially around the nose and under-eyes.
For detailed, dermatology-guided cleaning steps, see the American Academy of Dermatology Association’s guide on cleaning makeup brushes. For general cosmetics safety and usage information, the FDA cosmetics resource is a helpful reference.
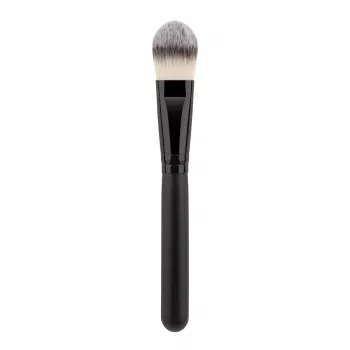
If precision blending and minimal-product coverage are the goal, the Ultra-Thin Foundation Brush is designed for controlled, thin layers that look even and refined. Its slim profile helps detail around facial contours and hard-to-reach spots—so coverage builds gradually without looking heavy.
For a broader self-care refresh beyond makeup, the Money Mindset Makeover: Step-by-Step Guide to Financial Well-Being | Digital eBook for Personal Growth & Financial Confidence | Learn to Improve Your Financial Well-Being is an easy add to a “reset” routine—practical for anyone who likes structured steps and measurable progress.
Use less product and apply in thin layers with light pressure. Blend with short strokes, then gently press over textured areas to smooth out any lines.
Yes. Use the narrow edge for targeted placement, then tap or press to blend the edges without lifting coverage.
Spot-clean after each use to remove surface product and deep-clean regularly based on how often you apply makeup and how sensitive your skin is.






Leave a comment