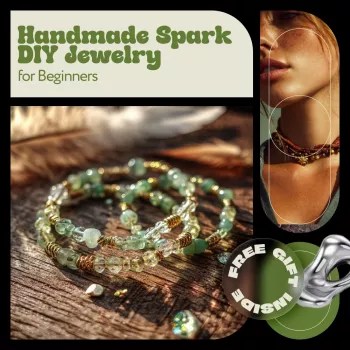
Starting jewelry making can feel overwhelming, but a small set of tools, a few core techniques, and beginner-friendly projects are enough to begin creating polished pieces quickly. This guide breaks down the essentials—what to buy first, how to practice safely, and how to finish jewelry so it lasts—plus creative projects that build skills in a natural progression.
A beginner setup works best when it’s compact, repeatable, and easy to put away. Start with a few reliable hand tools (pliers and cutters), a measuring tool, and a comfortable work surface like a bead mat or folded towel. Add specialty tools only when a technique actually requires them—otherwise it’s easy to buy a drawer full of tools that don’t get used.
Choose forgiving materials while your hands learn tension and symmetry: 20–22 gauge craft wire, elastic cord for quick bracelets, and jump rings in a couple common sizes. Using consistent findings (the same metal color and general style) makes simple designs look intentional and cohesive. Finally, plan for organization early; a small compartment box saves time and prevents the classic “lost jump ring” problem.
| Tool | Best for | Beginner tip |
|---|---|---|
| Chain-nose pliers | Holding jump rings, gripping wire, opening/closing findings | Choose smooth jaws to reduce marring on metal |
| Round-nose pliers | Making loops and wire-wrapped connectors | Mark jaws with tape to repeat loop sizes |
| Flush cutters | Cutting headpins, eye pins, and wire cleanly | Face the flat side toward the piece for a neater cut |
| Crimping tool | Finishing beading wire bracelets/necklaces with crimp beads | Practice on spare wire to avoid weak crimps |
| Bead mat or towel | Preventing beads from rolling and scratching | Work over a tray when using tiny seed beads |
| Ruler or caliper | Measuring bracelet/necklace length and bead sizes | Record sizes that fit comfortably for repeatable results |
Materials can make early projects feel either effortless or frustrating. For beads, 6–10 mm rounds are the sweet spot: easy to hold, quick to string, and visually balanced in most designs. Add a small set of spacer beads (metal or glass) to create instant variety without needing dozens of bead styles.
For stringing, elastic cord is the fastest way to make bracelets and practice color patterns. Nylon thread works well for beads with tiny holes, but it typically needs a needle and more patience. Beading wire (like a flexible coated steel wire) gives a smoother drape and a more professional feel for necklaces and clasped bracelets.
Wire is worth learning early. Keep 20–22 gauge on hand for simple loops and basic connectors; pick 24–26 gauge when you want to wrap for strength and detail. Whenever possible, choose tarnish-resistant or higher-quality plated wire and findings so your finished pieces stay bright longer.
The most-used findings for beginners are jump rings, clasps, crimp beads or tubes, bead tips (especially for thread), and pre-made ear wires. Keeping all findings in the same metal color—silver, gold, or rose gold—instantly improves the overall look.
Jump rings should be twisted sideways (like opening a door), not pulled apart front-to-back. When closing, nudge the ends past each other slightly and then back into alignment so the seam sits flush—this helps prevent snagging and accidental openings.
If skin sensitivity is a concern, look for nickel-free findings and hypoallergenic ear wires, and keep metals consistent to reduce irritation. Store pieces separately to prevent tangles and scratches; anti-tarnish strips help plated metals stay bright. For cleaning, wipe with a soft cloth and avoid harsh chemicals—especially on plated findings and porous stones. For detailed care guidance, see GIA’s jewelry care recommendations.
Chain-nose pliers, round-nose pliers, flush cutters, a ruler or caliper, and a bead mat cover most beginner projects. Add a crimping tool when you start finishing beading wire necklaces or bracelets with clasps.
Elastic cord is the quickest way to make bracelets and practice bead patterns with minimal tools. Beading wire has a slightly bigger learning curve but creates stronger, longer-lasting pieces with a more professional drape.
Keep findings the same metal color, close jump rings flush, and trim ends neatly. Use wrapped loops for strength where it matters, and check spacing and symmetry before final finishing.





Leave a comment