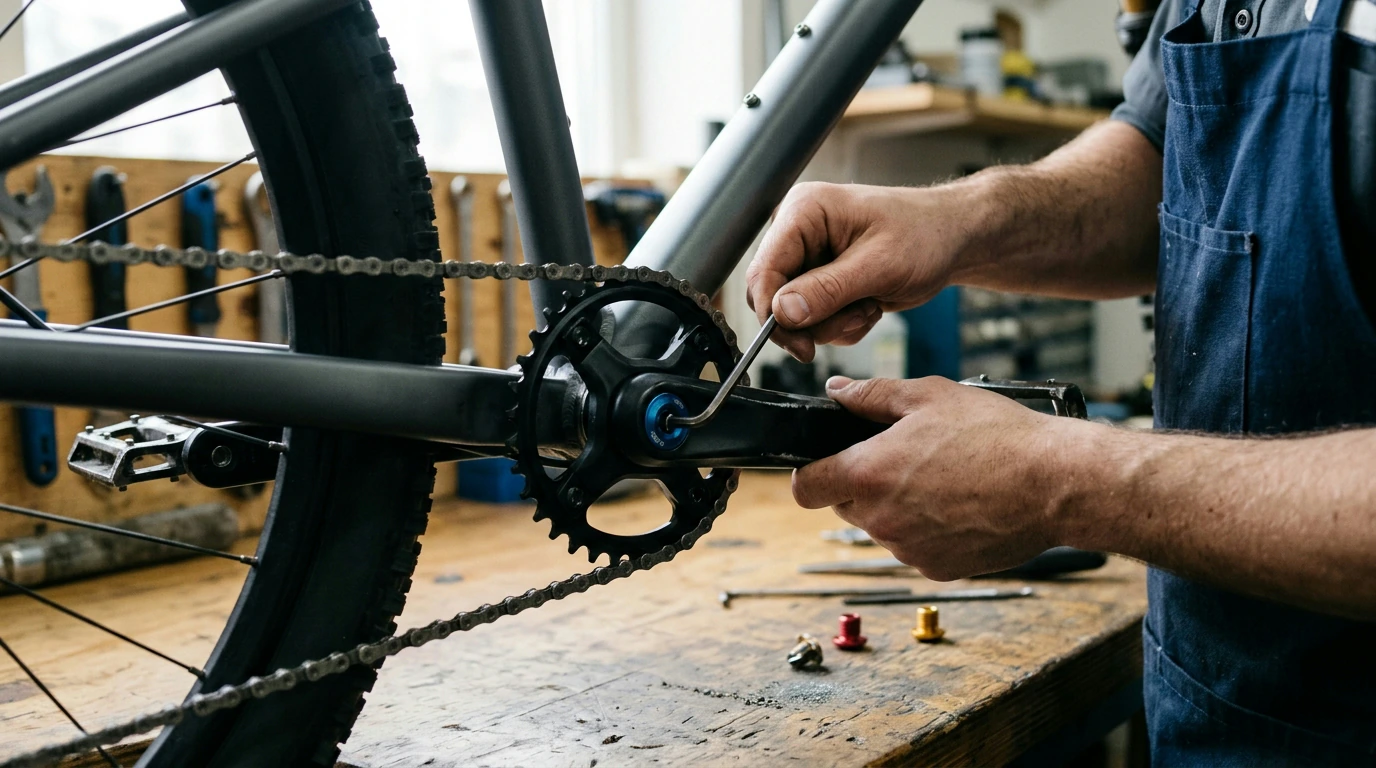
Crankset cover screws are small parts that make a noticeable difference: they protect the crank interface area, help keep dust and moisture away, and add a clean finished look. Aluminum multicolor options are popular for riders who want a subtle upgrade without adding bulk or weight. This guide covers what these screws do, how to confirm fit, how to install them correctly, and how to keep them looking good on both MTB and road setups. For more guidance, see Bicycle M5 Rear Derailleur Guide Wheel Screw – Aluminum Alloy ….
Depending on your crank design, “cover screws” can secure a cap, retain a dust cover, or simply finish off an opening that would otherwise collect grime. Even when they aren’t a high-load fastener, they still play a useful role in keeping the area neat and serviceable. For further reading, see road bikes near Vancouver, WA – craigslist.
Aluminum hardware is a popular choice for riders who want color and low weight, but it rewards careful handling. Most multicolor screw sets use anodizing (often dyed), so the color is part of the surface layer rather than paint sitting on top.
For guidance on where thread compounds belong on bikes, Park Tool’s overview is a reliable reference: Thread Compounds (Loctite, anti-seize) and where they belong on bikes.
Before ordering or swapping crankset cover screws, confirm what your crank actually uses in that location. Some systems use preload caps, others use self-extracting hardware, and others rely on simple covers—parts can look similar while being totally incompatible.
| What to check | How to confirm | Why it matters |
|---|---|---|
| Thread size & pitch | Match to crank documentation or measure an existing screw | Prevents cross-threading and damage |
| Screw length | Compare with existing hardware; ensure full engagement without bottoming out | Avoids interference and loosening |
| Head style/tool | Confirm tool clearance near crank/chainring | Ensures proper torque application |
| Crank system type | Identify if it’s a preload cap, self-extracting system, or dust cover design | Determines whether a screw is even used in that location |
| Material pairing | Aluminum screw into aluminum crank: use correct torque and clean threads | Reduces stripping and corrosion issues |
If you’re unsure about torque specs or service steps for your specific crank, manufacturer documentation is the safest place to confirm details. Shimano and SRAM publish service manuals and specifications libraries:
Most damaged small fasteners fail for the same reasons: dirty threads, cross-threading, or over-torque. A calm, consistent install routine avoids all three.
Fit depends on your crank system type (preload cap, self-extracting, or dust cover design) plus the thread size/pitch, head style, and length. Check your crank model documentation or match an existing screw to avoid cross-threading or bottoming out.
Aluminum is commonly used for cosmetic bike hardware, but it’s more sensitive to over-torque and cross-threading than steel. Hand-start the threads, keep them clean, use the correct tool, and follow manufacturer torque specs when available.
Rinse grit off before wiping, wash gently, and avoid harsh degreasers or strong alkaline cleaners that can dull dyed anodizing. Replace rounded screw heads early to prevent tool marks and difficult removal later.





Leave a comment